DIY: How to Tie a Loopy Bow - Save-On-Crafts
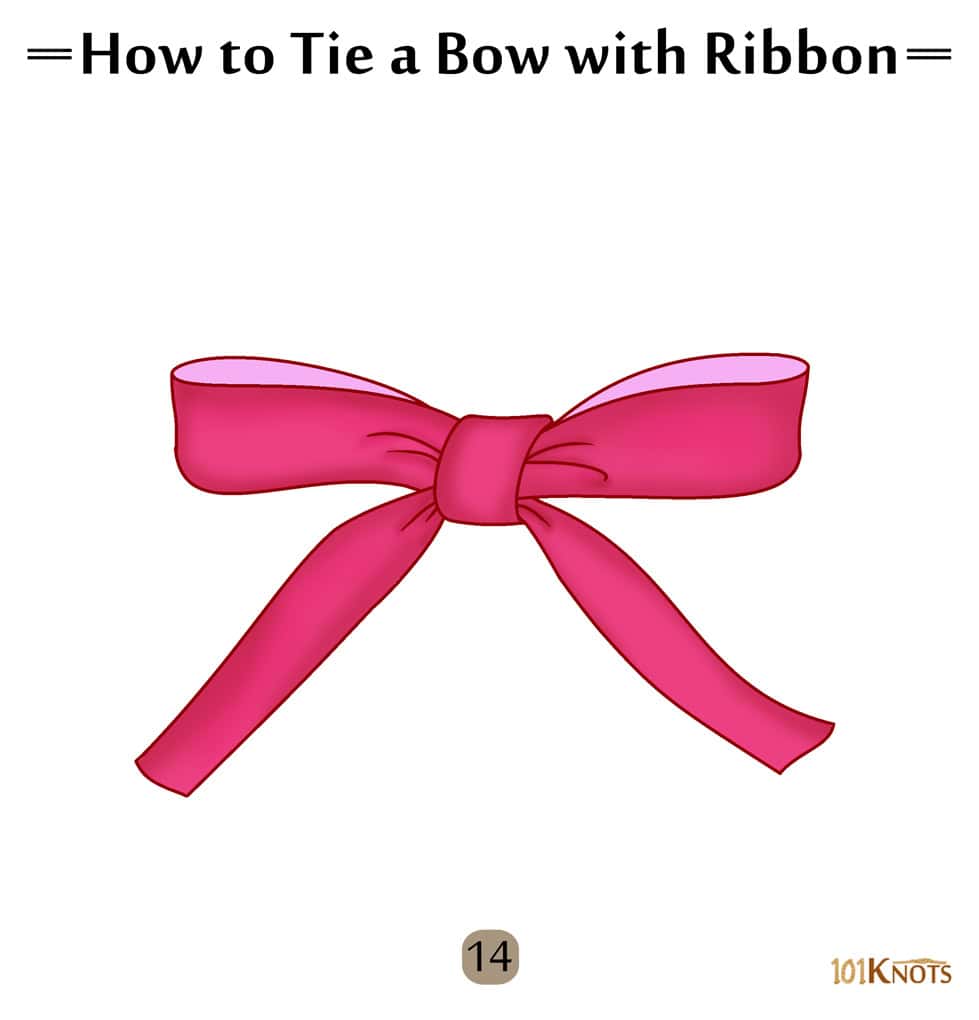
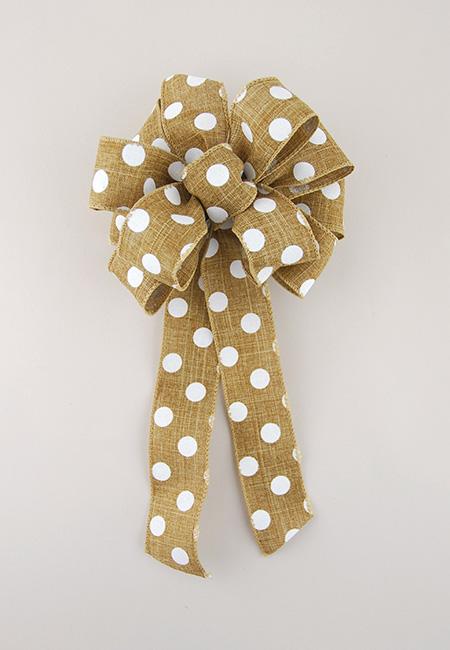
Materials Ribbon (approx. 3 yards) Ribbon wire (or floral wire) Scissors Wire cutters Instructions Curl ribbon over to create the center loop and pinch it at the base. Twist the tail of ribbon where your fingers are pinched so that the front side of the fabric is facing up. Fold the ribbon under to make the first loop. Twist the ribbon to make the front side face out and pinch it in the center. (Note: You will need to twist the ribbon after each consecutive loop in order to make sure that the front side of the fabric will always be facing out.) Fold the ribbon on the opposite side of the first loop to create the second loop. Hold up both loops to make sure they are the same length. Twist and pinch the ribbon. Begin the second set

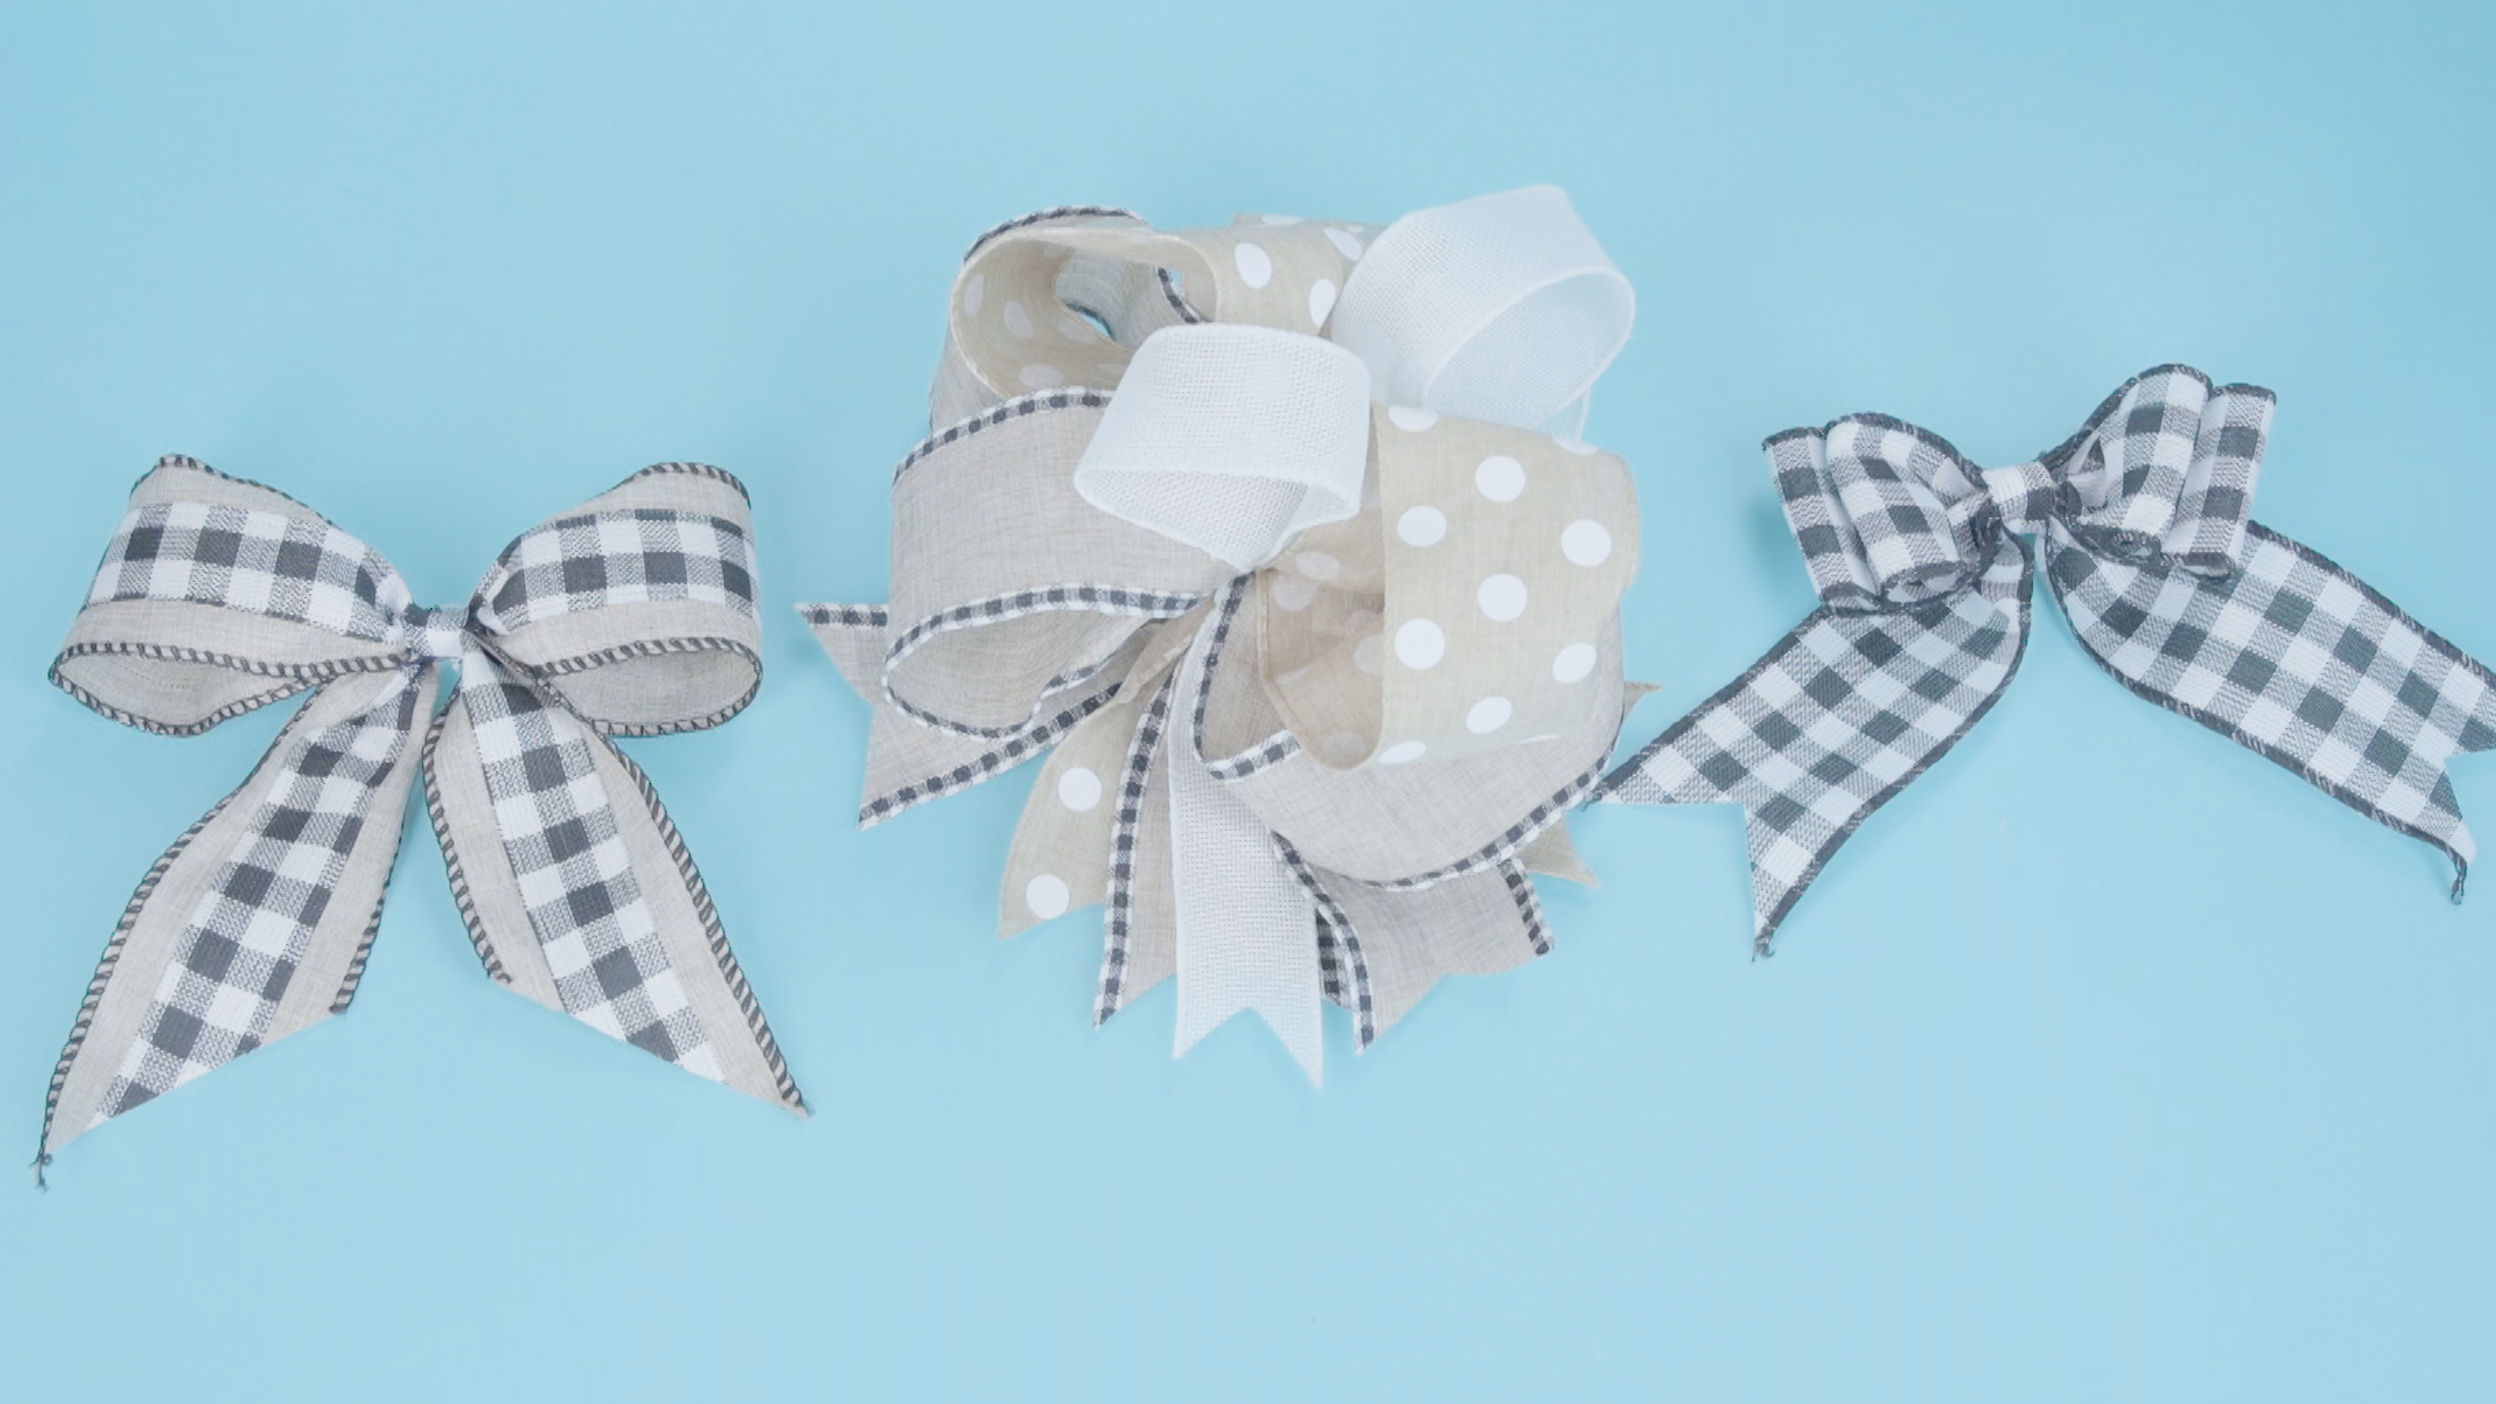
DIY How to Tie a Loopy Bow

Bow Making 101: How to make Glued and Wired Loops

DIY: How to Tie a Loopy Bow - Save-On-Crafts

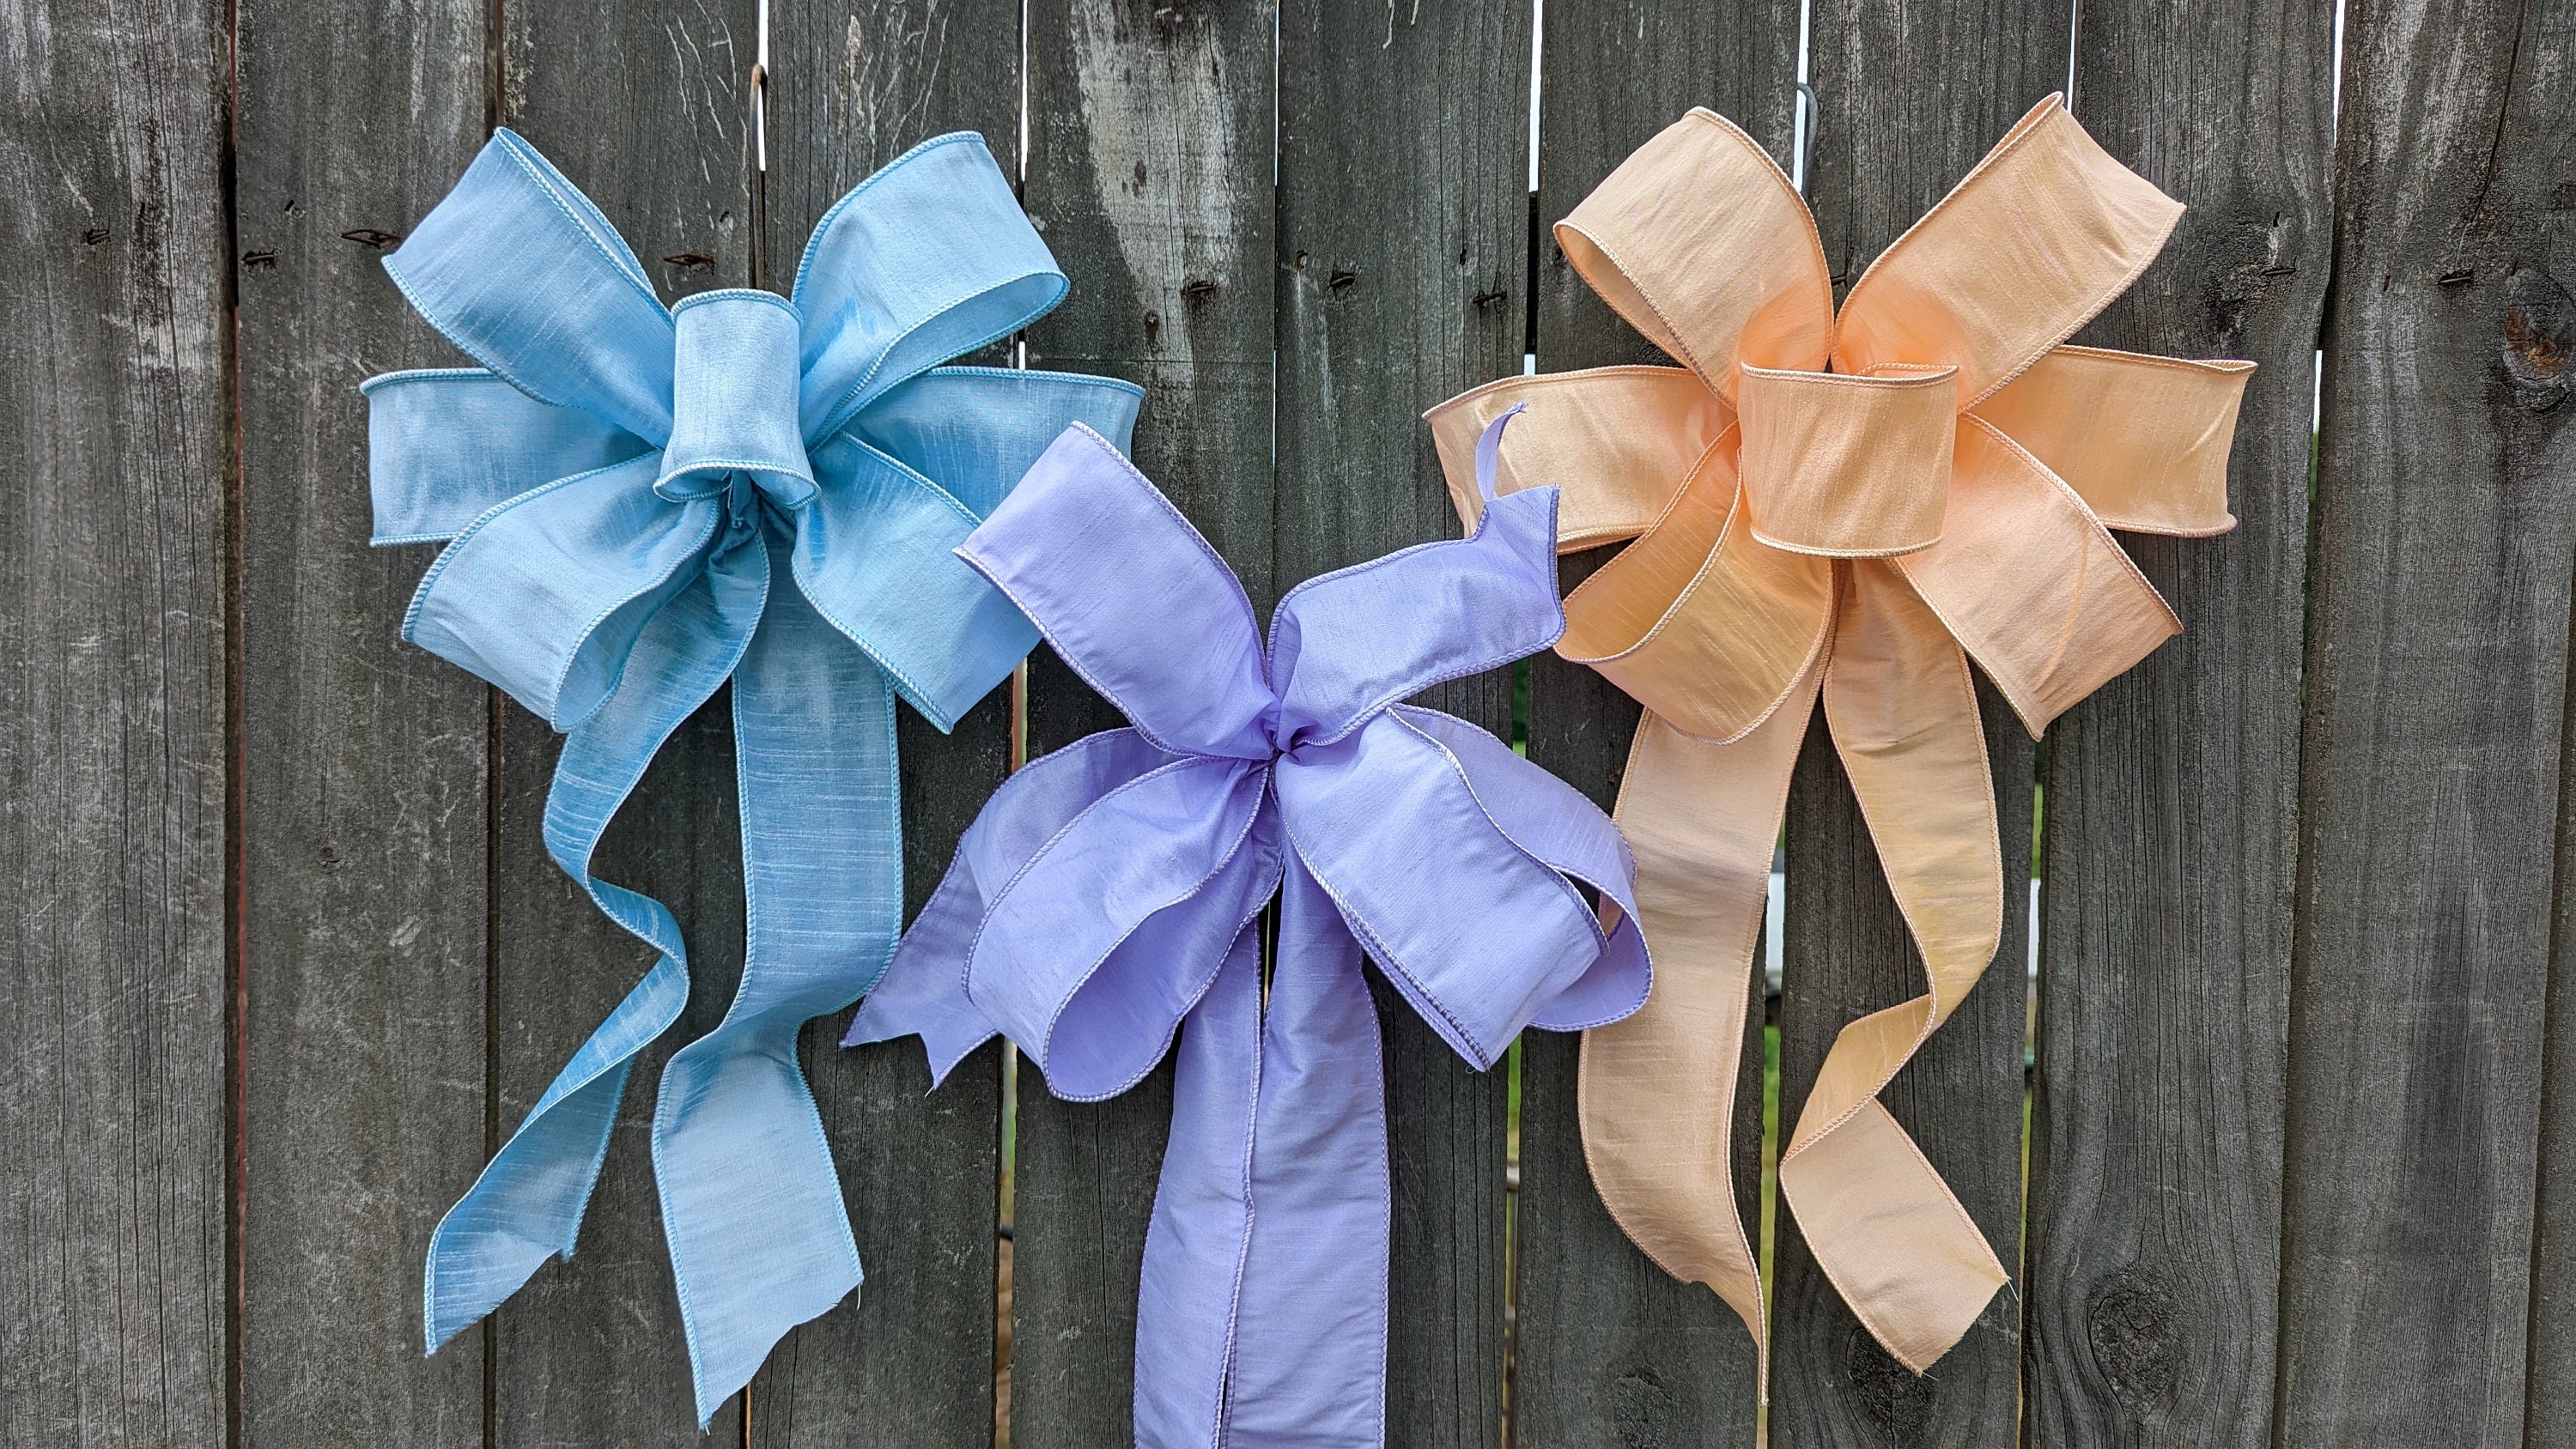
How to Make a Bow for a Wreath - Kippi at Home Christmas bows diy, Christmas wreath bows, Diy wreath bow

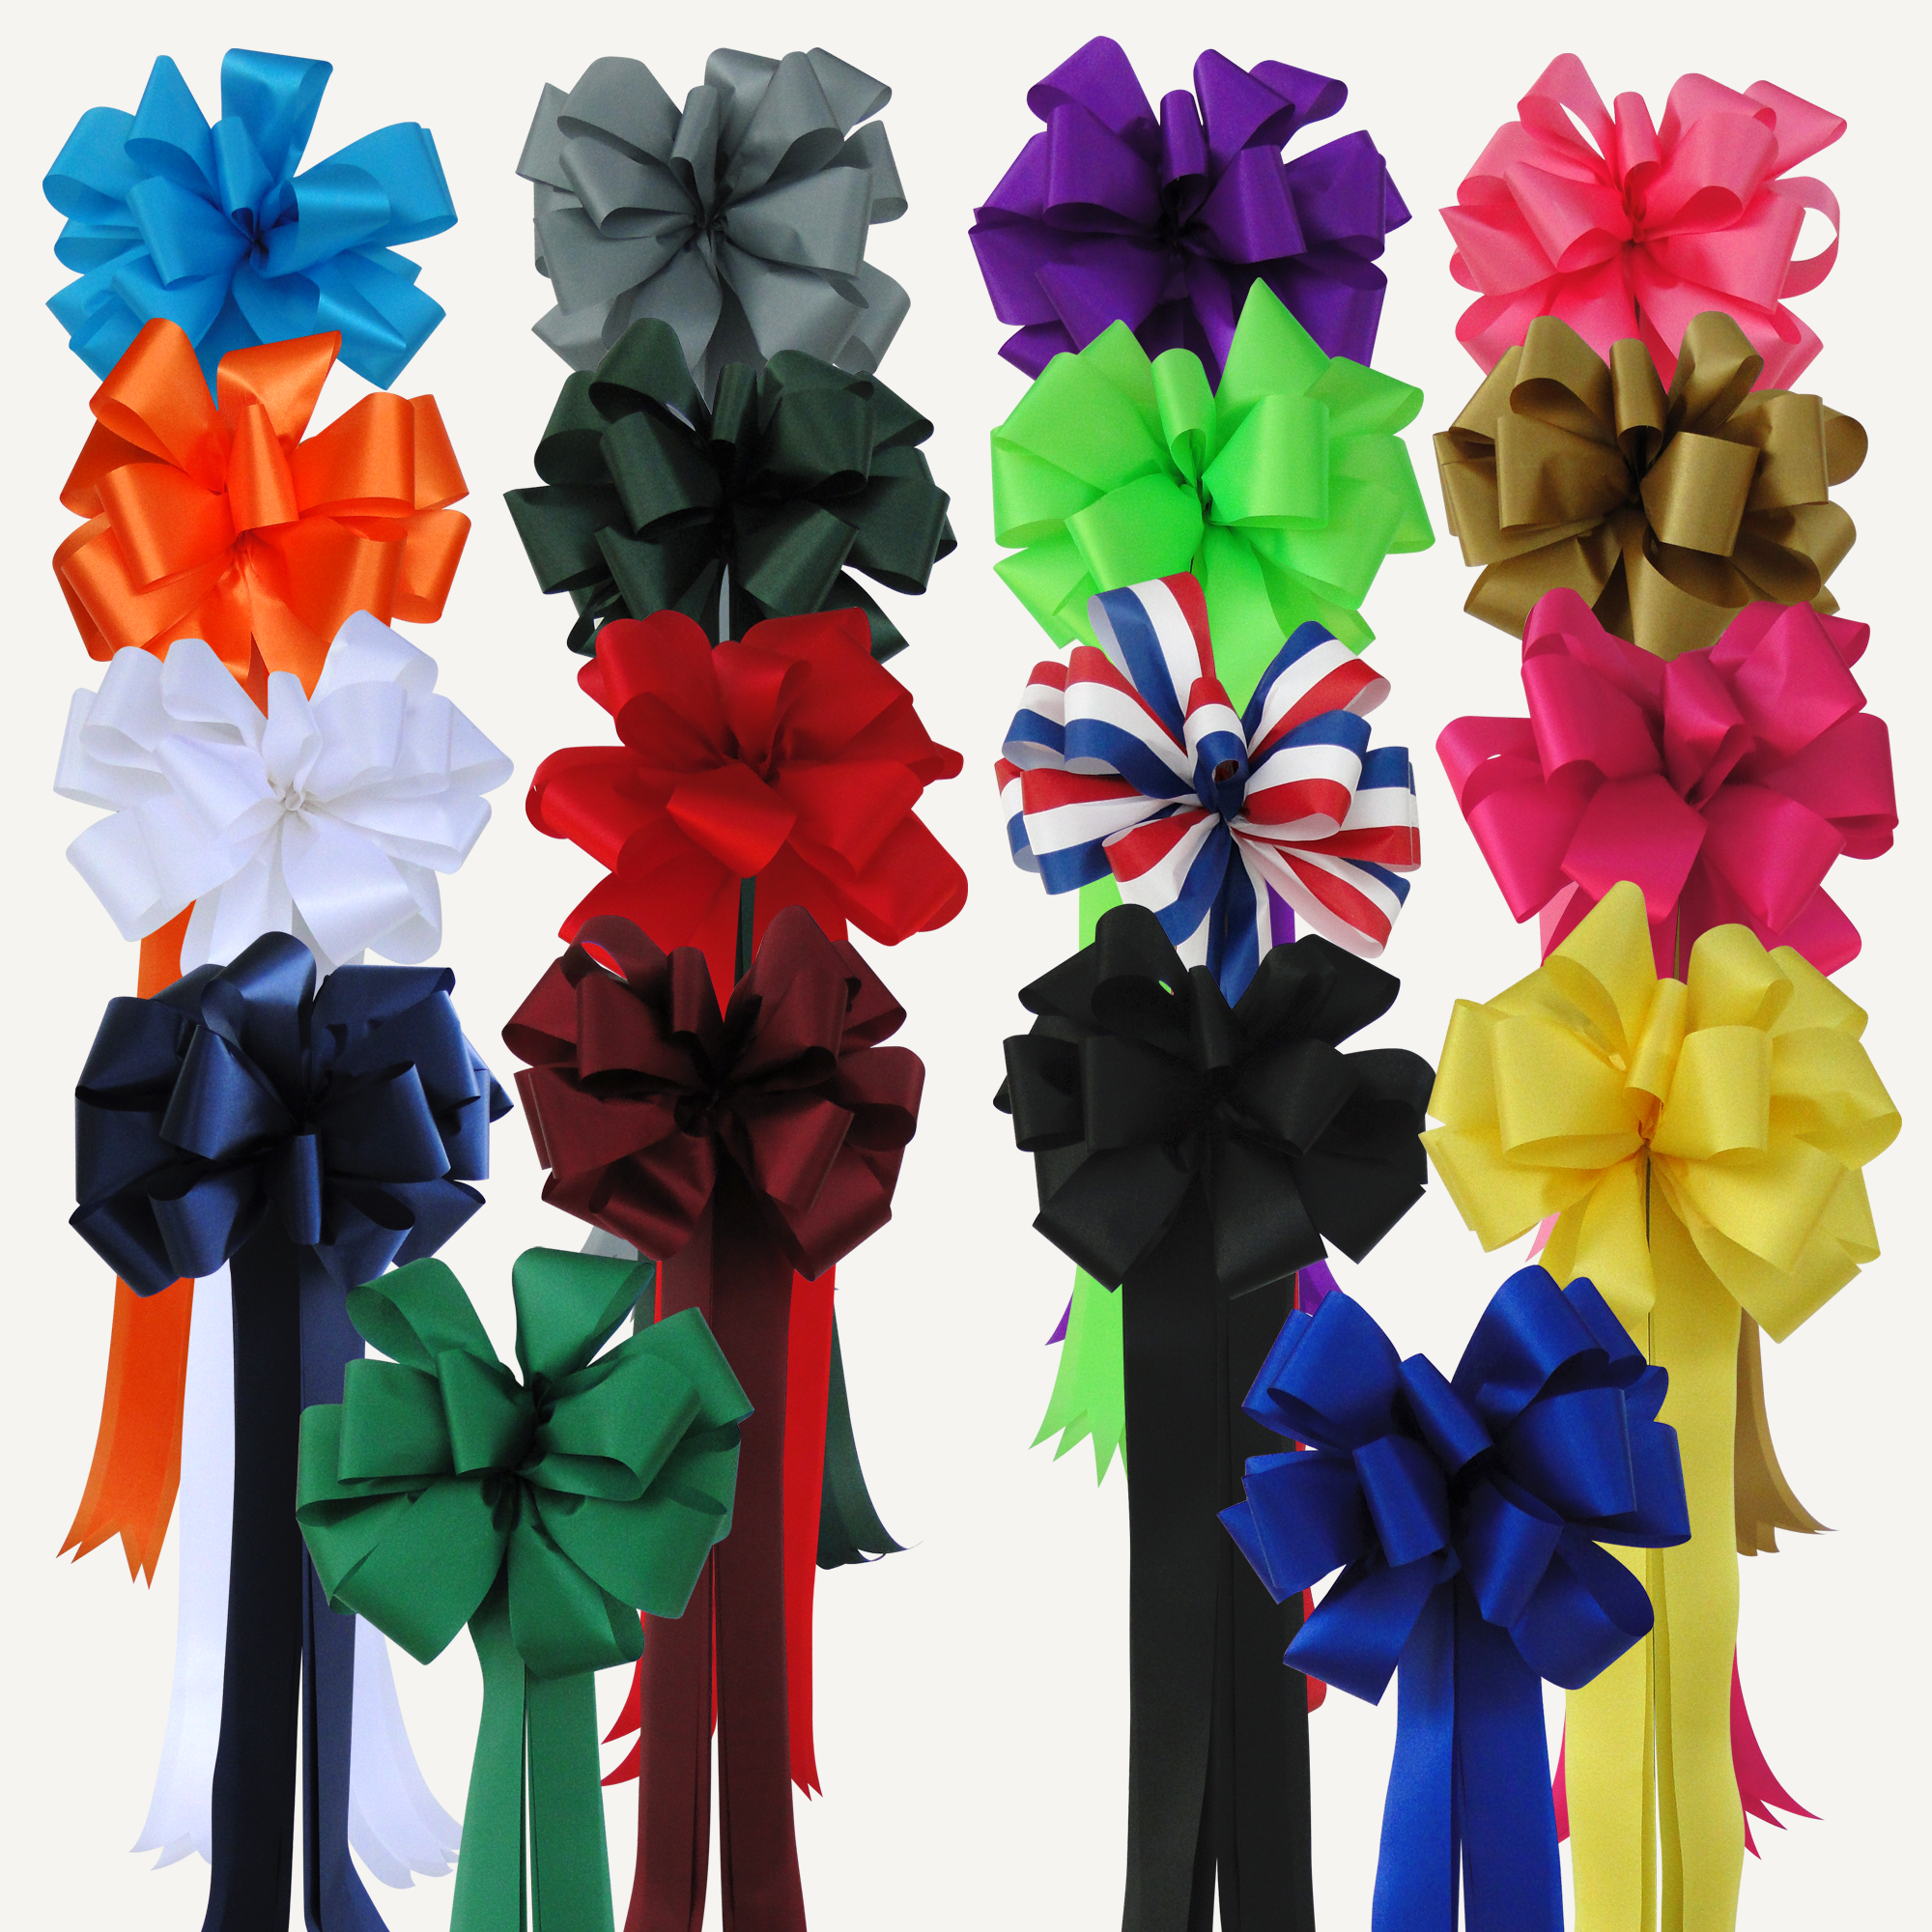
25 Gorgeous DIY Gift Bows (that look professional!)
2011 Land Rover Range Rover Sport SUV In Hiawatha, KS Item

How to tie a fancy bow

How to Make a Loopy Puff Bow - TheRibbonRetreat.com

DIY: How to wrap your bouquets with ribbon Tailored Stems

how to wrap a single rose in paper - Google 搜索